Last updated November 17, 2026








Free written scope consultation - allowances, timeline, and change-order rules on paper before a single trade is scheduled
Bathroom Remodeling Troubleshooting: Common Problems and How to Fix Them
Grout cracking at the tub surround within 18 months isn’t a grout problem. It’s almost always a backer board problem – and fixing just the grout means you’ll be doing it again in another 18 months. We’ve seen this cycle play out across Denton more times than we can count: a homeowner pays for cosmetic touch-ups, the failure returns, and the real cause stays buried under new caulk. The good news is that most bathroom remodeling failures trace back to one of four skipped steps in rough-in or waterproofing, and identifying which step was missed tells you exactly how to fix it without tearing out more than necessary. This guide walks through the diagnostic chain for the five most common failures, how to read a crack, and the measurements that cause every downstream problem.
Quick Answer
Most bathroom remodel problems – cracking tile, failed caulk, slow drains, condensation, and doors that won’t stay square – trace back to skipped steps in rough-in or waterproofing, not materials or workmanship on the surface. A correct repair addresses the waterproofing membrane, substrate, or rough-in dimension underneath the visible failure; a cosmetic fix will come back within 12 to 24 months. Diagnosing which layer failed before spending money is the whole game.
Styles & brands we work with
- Kitchen remodeling
- Bathroom remodeling
- Home additions & ADU
- Roofing
- Windows & doors
- Driveway & pavers
- Fence
Table of Contents
- The Diagnostic Chain: Five Failures and What Actually Caused Them
- Is That Tile Crack Cosmetic or Structural?
- Why Re-Grouting Without Fixing the Membrane Fails Again
- The Rough-In Measurements That Cause Everything Downstream
- Slow Drains After a Remodel: Reading the Clue
- Why Your New Exhaust Fan Still Fogs the Mirror
- Cabinet Doors That Won’t Stay Square
- How to Document a Problem Before You Call
The Diagnostic Chain: Five Failures and What Actually Caused Them
When a bathroom starts failing, homeowners tend to fix the surface symptom first – new caulk, new grout, a fresh coat of paint. That approach treats a waterproofing problem as a cosmetic one, and the failure returns. The diagnostic chain works the opposite way: start at the failure, work backward through the layers, and stop at the first skipped step.
Here are the five failures we see most often in Denton bathrooms, and the layer that actually caused each one:
- Cracking grout or tile at the tub surround. Surface stress is possible, but when cracks appear at consistent intervals or along a horizontal line 12 to 24 inches up from the tub deck, the cause is usually backer board movement – either the wrong board (greenboard instead of cement board or a foam board rated for wet areas) or thin-set applied over a membrane that wasn’t properly embedded.
- Slow drain after a remodel. New fixtures rarely cause this on their own. Look for construction debris in the trap, a slope miscalculation in the new drain line, or a vent that was capped during rough-in.
- Condensation on the mirror and windows after showering. The exhaust fan is the usual suspect, but more often the fan is undersized for the cubic footage, or ducted incorrectly – through an attic that terminates in the soffit instead of the roof deck, which can push moist air right back into the home.
- Caulk line failure at the tub deck. If silicone caulk pulls away within a year, the joint isn’t the problem – it’s movement between the tub and the substrate. Tubs flex. A rigid caulk bridged with no gap allowance will fail every time.
- Cabinet doors that won’t stay square. On a vanity, this usually means the cabinet wasn’t shimmed level before anchoring, or the wall behind it isn’t plumb and the installer chased the wall instead of setting the box. Floor flatness in Texas slab homes makes this common.
The pattern is consistent: in each case, the visible failure is the last symptom in a chain that starts one or two layers below. Fix the top layer and it comes back. Diagnose the layer and the repair holds.
Is That Tile Crack Cosmetic or Structural?
Before you spend money on any tile crack repair, run through five tests to determine whether you’re looking at a cosmetic issue or a structural one. The distinction matters because the repair scope – and price – can differ by a factor of five.
Cosmetic cracks are surface stress fractures. They appear as single hairline cracks, usually on a floor tile near a high-traffic zone or on a wall tile near a corner. They don’t grow over weeks. Tap the tile with a plastic screwdriver handle: if it sounds solid, the substrate is likely intact.
Structural cracks have telltale signs:
- The crack runs through multiple tiles in a straight or mirrored line
- Any tile sounds hollow when tapped (a hollow sound means the thin-set has let go)
- Grout lines next to the crack are also failing
- You can feel a height difference between adjacent tile edges
- The crack reappears in the same place after a previous repair
When we get called to a Denton home for a tile crack evaluation, the single most useful thing a homeowner can do is note when the crack first appeared and whether it’s grown. A tile that cracked during the original installation and hasn’t moved since is almost always cosmetic. A crack that appeared six months after the job was signed off and is still spreading points to substrate movement – either deflection in the floor joists or, on walls, backer board that wasn’t fastened to studs at the correct spacing (typically every 8 inches on center, with fasteners kept 2 inches from the board edge).
Either way, this is not a spot-and-forget repair. A structural crack that isn’t diagnosed will keep propagating, and re-tiling over it without addressing the movement means doing the job twice. If you’re staring down a bigger repair, our guide to Bathroom Remodeling in Denton covers what a correctly sequenced rebuild looks like from demo to final inspection.
Why Re-Grouting Without Fixing the Membrane Fails Again
Re-grouting is the most common wrong answer to a bathroom failure. Here’s why: grout and tile are the wear layer. Underneath them sits thin-set, then the waterproofing membrane, then the backer board, then the studs. If water is getting into the assembly – which grout cracks allow – the membrane is doing either its job or it isn’t. Re-grouting addresses only the top of the stack and leaves water where it started.
The minimum correct repair scope when a waterproofing failure is confirmed:
- Remove the affected tile and grout in the failed zone
- Expose the backer board and inspect for moisture damage (soft spots, discoloration, mold at the seams)
- Cut back to sound backer board and install a compatible repair patch – cement board or an approved foam board, fastened to code
- Re-establish the waterproofing with a liquid-applied or sheet membrane that overlaps the existing membrane by at least 2 inches
- Allow proper cure time, then re-tile and grout
- Re-caulk with a flexible silicone at any movement joint (tub deck, corners, wall-to-floor)
That’s the floor. Anything less is a temporary fix. In a Denton bathroom where the failure is confined to one wall or one section of tub surround, a correct localized repair is often feasible – you don’t necessarily lose the whole room. But when the failure spans more than about 30 percent of the wet wall, or when the backer board has delaminated in more than one location, the honest answer is a more complete rebuild of the wet zone.
We’ve seen plenty of Denton homes where a homeowner paid for re-grouting twice in three years before the real problem showed up as water staining on the ceiling below. If a repair crew proposes re-grouting without opening up at least one tile to inspect the substrate, ask them why. A written scope that states what happens if the substrate turns out to be compromised is the baseline protection every homeowner should demand. That’s the kind of thing a general contractor in Denton should be spelling out for you before any tool comes out.
The Rough-In Measurements That Cause Everything Downstream
Three rough-in dimensions determine whether your finished bathroom will behave for the next twenty years. Get them wrong and problems cascade: toilets that sit proud of the wall, vanities that don’t sit flush, faucets that land in the wrong spot on the sink, and supply lines that strain inside the wall.
Toilet rough-in distance. This is the measurement from the finished wall to the center of the toilet’s drain hole. The U.S. standard is 12 inches. Ten-inch and fourteen-inch rough-ins exist but read as nonstandard and narrow your fixture selection. When a remodeler relocates the toilet without verifying rough-in, you inherit a toilet that either won’t fit or leaves a gap you’ll stare at every day.
Floor flange height. The flange – the ring that the toilet mounts to – should sit flush with the finished floor surface, or no more than 1/4 inch above it. Set it lower and the wax ring will compress unevenly, causing leaks at the base. Set it too high and the toilet will rock. Either one is a slow-motion failure that shows up as a soft spot in the subfloor two or three years later.
Supply stub-out height. For a wall-mounted sink or a vessel sink, the supply stub-outs should land 20 to 22 inches above the finished floor for a standard vanity, adjusted for the fixture you actually selected. When the plumber roughs in before the vanity is chosen, this measurement gets made up on the fly – and the faucet sits too high or too low. On any spec-built Denton bathroom from the 1990s or 2000s, we frequently find supply stub-outs that were roughed to a generic elevation and don’t match the fixture the homeowner now wants.
These are the three dimensional checks that a good contractor documents on the job. If you’re remodeling in Denton – particularly in older areas like the historic district or along the university corridors where floor plans have been edited multiple times – verify these three numbers before the drywall goes up. Once drywall is in, correcting a rough-in error requires opening the wall.
Slow Drains After a Remodel: Reading the Clue
A slow drain in a newly remodeled bathroom is a diagnostic clue, not a cosmetic nuisance. There are four likely causes, ranked from most to least common:
- Construction debris in the trap. Thin-set, grout, and drywall dust wash into the drain during demolition and cleanup. A drain snake resolves this in most cases.
- A capped or blocked vent. Every drain needs an air vent; without it, water gurgles and drains slowly. If the vent stack was capped or rerouted during rough-in and never reopened, this is the cause.
- Slope miscalculation. Drain lines need a fall of 1/4 inch per foot. Too flat and water pools; too steep and water outruns the solids. On a relocated tub or shower drain in a slab home, this is more common than homeowners realize – our Denton clay soil moves, and a drain line that was correctly sloped at installation can settle out of tolerance over years.
- An undersized drain. A 1.5-inch drain serving a tub with a high-flow showerhead will feel slow. Standard tub drains should be 1.5 inches minimum, but a lot of older Denton homes have 1.25-inch drains that were fine when showerheads flowed 2.5 gallons per minute and are now the bottleneck with modern fixtures.
The critical distinction: a slow drain that was slow before the remodel is a plumbing issue. A slow drain that appeared during or after the remodel is almost always debris or a rough-in issue. The fix scope is different for each, and a contractor needs to know which one you’re dealing with before quoting a repair. If it’s the second kind, that’s on the remodel – which makes the documented warranty matter.
Why Your New Exhaust Fan Still Fogs the Mirror
A bathroom exhaust fan that runs but doesn’t clear the mirror has a ducting or sizing problem, not a fan problem. Here’s what to check:
- Sizing. Exhaust fans are rated in CFM (cubic feet per minute). The rule is one CFM per square foot of bathroom, with a minimum of 50 CFM for any bathroom. A 100-square-foot bathroom needs a 100 CFM fan. A 5×8 hall bath in Denton is 40 square feet – a 50 CFM fan is the floor, and it should run for 20 minutes after a shower, not 5.
- Duct termination. Ducting out to the soffit – a common shortcut – pushes moist air up under the eave, where it can re-enter through soffit vents or condense against the framing. The duct must terminate at the roof deck or exterior wall with a proper cap.
- Duct run length and turns. Every 90-degree elbow effectively costs you duct length. A 4-inch duct with three elbows and 15 feet of run doesn’t move anywhere near its rated CFM. Short and straight wins.
- Insulation. In North Texas, ducting through the attic needs to be insulated; otherwise the moist exhaust air condenses inside the duct before it ever reaches the outside.
Condensation in a Denton bathroom is also worth thinking about from the outside in: exterior walls on the north side of the house – which get less winter sun – can be cold enough that warm interior air condenses on them regardless of fan performance. Sometimes the answer is a better fan, sometimes it’s exterior wall insulation, and sometimes it’s both. A trained eye and a moisture meter settle the question quickly.
Cabinet Doors That Won’t Stay Square
Vanity cabinet doors that sag, stick, or drift out of alignment within a year of install usually aren’t a hinge problem. They’re an installation problem. The three causes, in order:
- The cabinet wasn’t shimmed level. On a Denton slab floor, this is the number one cause. The floor isn’t flat, the installer sets the cabinet box on the high side and shims the low side – or doesn’t. The cabinet twists, the doors follow.
- The wall behind the cabinet isn’t plumb. Cabinets are built square. Walls, especially in older Denton homes, are not. The installer has to make a choice – set the cabinet against the wall and accept a twisted box, or shim the cabinet plumb and shim the space behind it. The right answer is the second, always.
- The cabinet was installed before the floor finish. Cabinets should go in after the finished floor is down, or on an approved shim system that accounts for the finish. Install on the subfloor and add 3/4-inch hardwood over it, and the cabinet is suddenly sunk behind the finish floor and the doors bind at the toe kick.
If your doors are out of square and you invested in cabinetry from a documented manufacturer – KraftMaid and Wellborn both have specific specifications for how their boxes anchor – the first step is checking whether the cabinet is anchored to specifications. Because the brands we install come with manufacturer specs and warranties that back our own work, this is exactly the kind of issue the 365-Day Done Right Promise is meant to cover: if a vanity we installed in a Denton bathroom has settled out of square inside the guarantee window, we come back and correct it at no charge. That is the entire point of a written guarantee.
How to Document a Problem Before You Call
The single most useful thing a homeowner can do before calling a contractor for a bathroom repair is document the failure properly. A good contractor needs three things to scope a repair accurately: what failed, when it failed, and whether it’s changing. Here’s how to give them that.
Photos. Take four:
- A wide shot that shows the entire wall or floor section, so the contractor can see the layout
- A mid-range shot showing the crack, stain, or failure in the context of surrounding tile and grout lines
- A close-up with a tape measure held next to the failure, so the size is unambiguous
- A second wide shot taken from a different angle, one week after the first set
Measurements. Note the crack length, the distance from the nearest corner or tub deck, and whether adjacent grout lines are also failing. Note whether the tile sounds hollow when tapped.
Notes. Write down when the problem first appeared, whether it’s grown, and what (if anything) you’ve already tried. If you had a previous repair done, have the original scope document and date.
This documentation takes twenty minutes and saves a diagnostic visit in most cases. It also sets you up well if a warranty question comes up later – a documented timeline is the difference between a repair that’s covered and a repair that becomes an argument. When we take a call at Bradford Remodeling Co Denton, a homeowner who has photos, measurements, and dates in hand gets a scoped estimate the same week instead of a two-visit diagnostic before anyone can quote anything.
Common Mistakes to Avoid
- Re-grouting without checking the backer board. Grout is the wear layer. If the substrate has failed, re-grouting buys you 12 to 18 months. Open up one tile first to see what you’re actually dealing with.
- Recaulking a joint that needs a gap allowance. Silicone caulk at a tub deck has to absorb a specific amount of movement. Filling the joint completely rigid guarantees a failure. The joint needs backing and a proper bead depth.
- Fixing a slow drain without knowing what’s in it. Debris, venting, slope, and pipe size each require a different fix. A drain snake is a diagnostic tool, not always a solution.
- Installing cabinets before the finish floor. In Denton, where finish floor thickness varies widely by material, this sinks the cabinet box and causes doors to bind at the toe kick every time.
- Venting the exhaust fan to the soffit. Moisture comes right back in. In North Texas, this also contributes to attic condensation and wood rot in the eave.
- Choosing a contractor by the lowest bid without a written line-item scope. The lowest bid is often the bid with the most assumptions. Compare scopes, not just totals – and confirm the written guarantee before anyone starts.
- Signing off on the job before a walkthrough. A proper close-out includes a clean site, a documented scope, and a signed written guarantee in your hand. Anything less and you’ve given up your leverage.
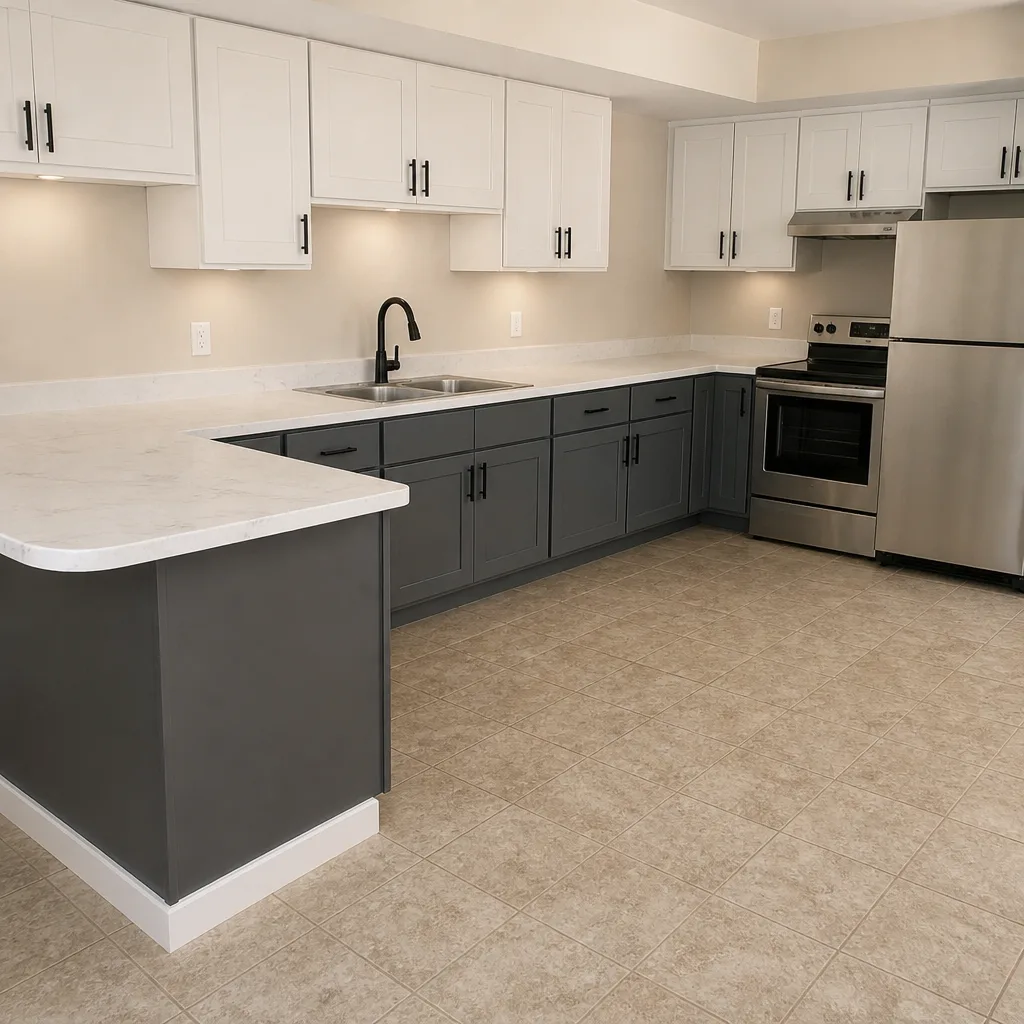
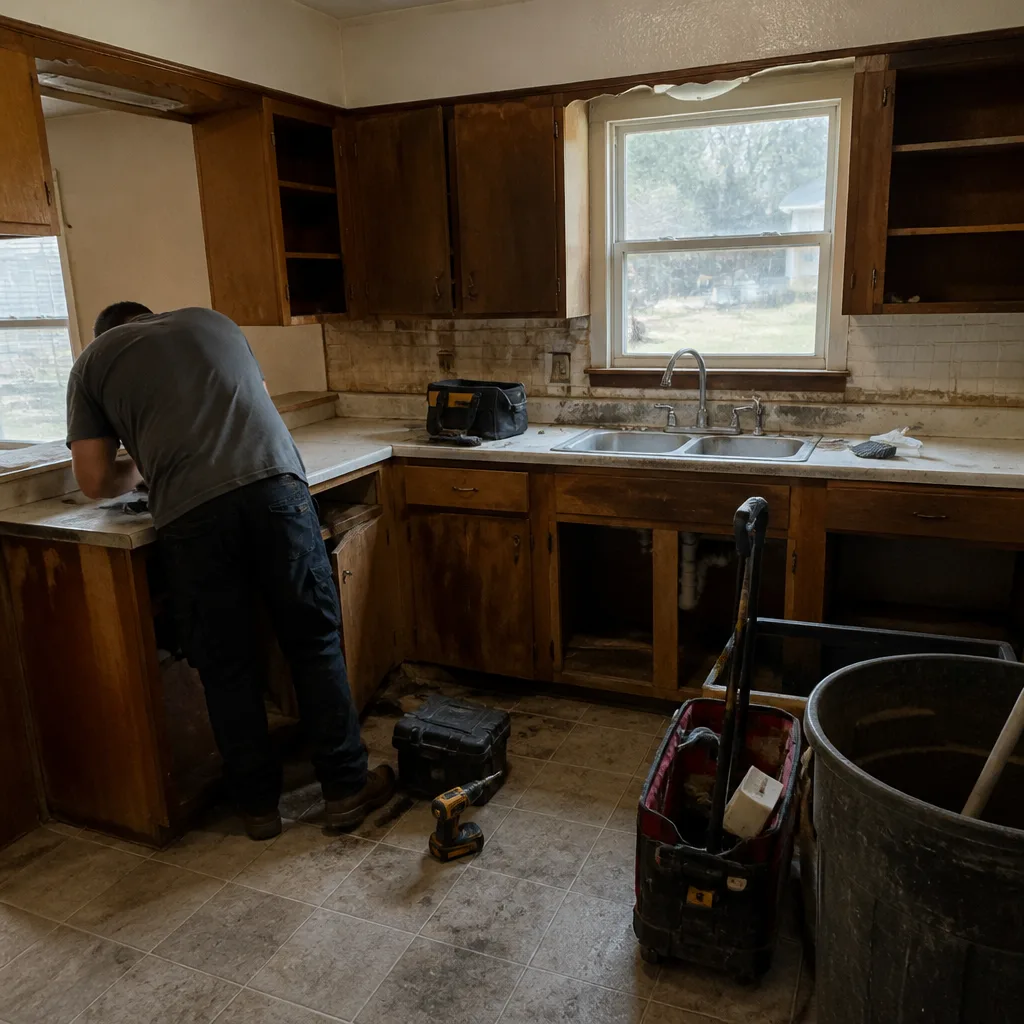
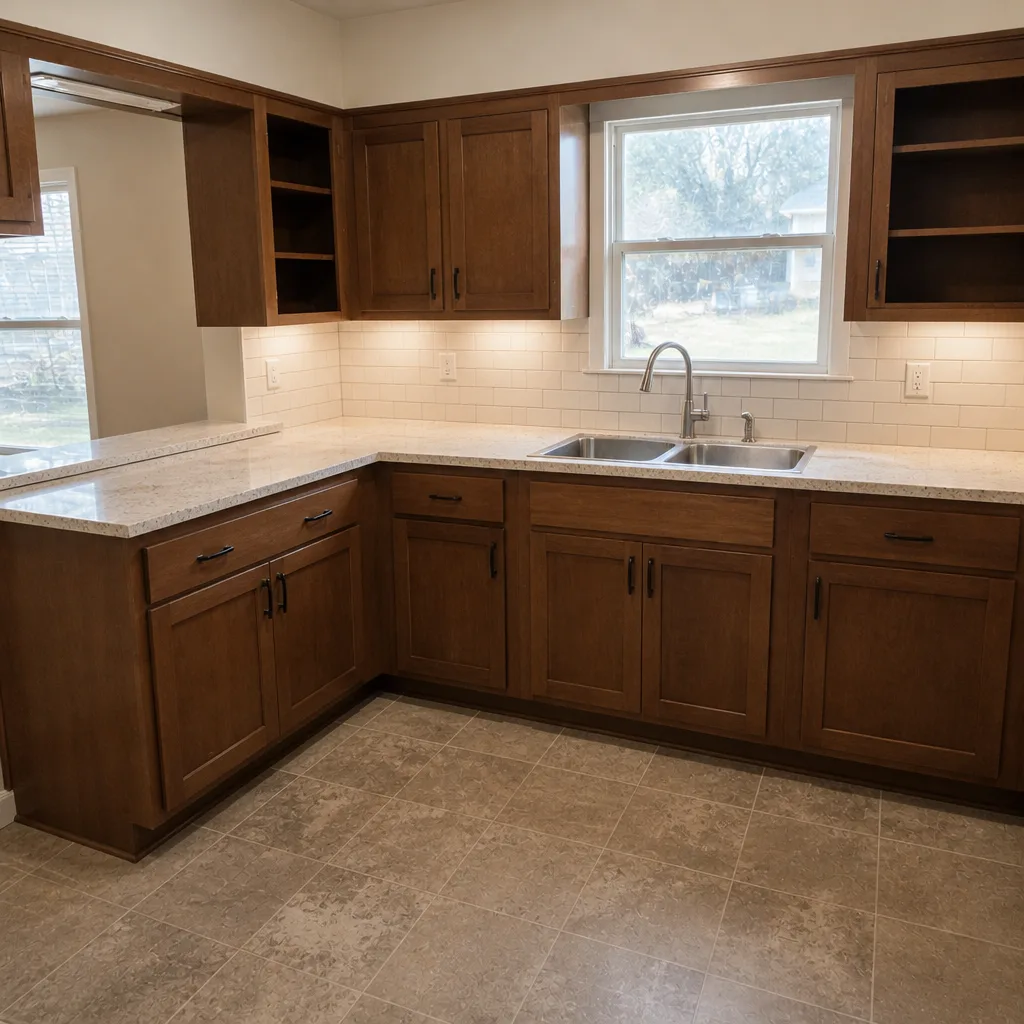
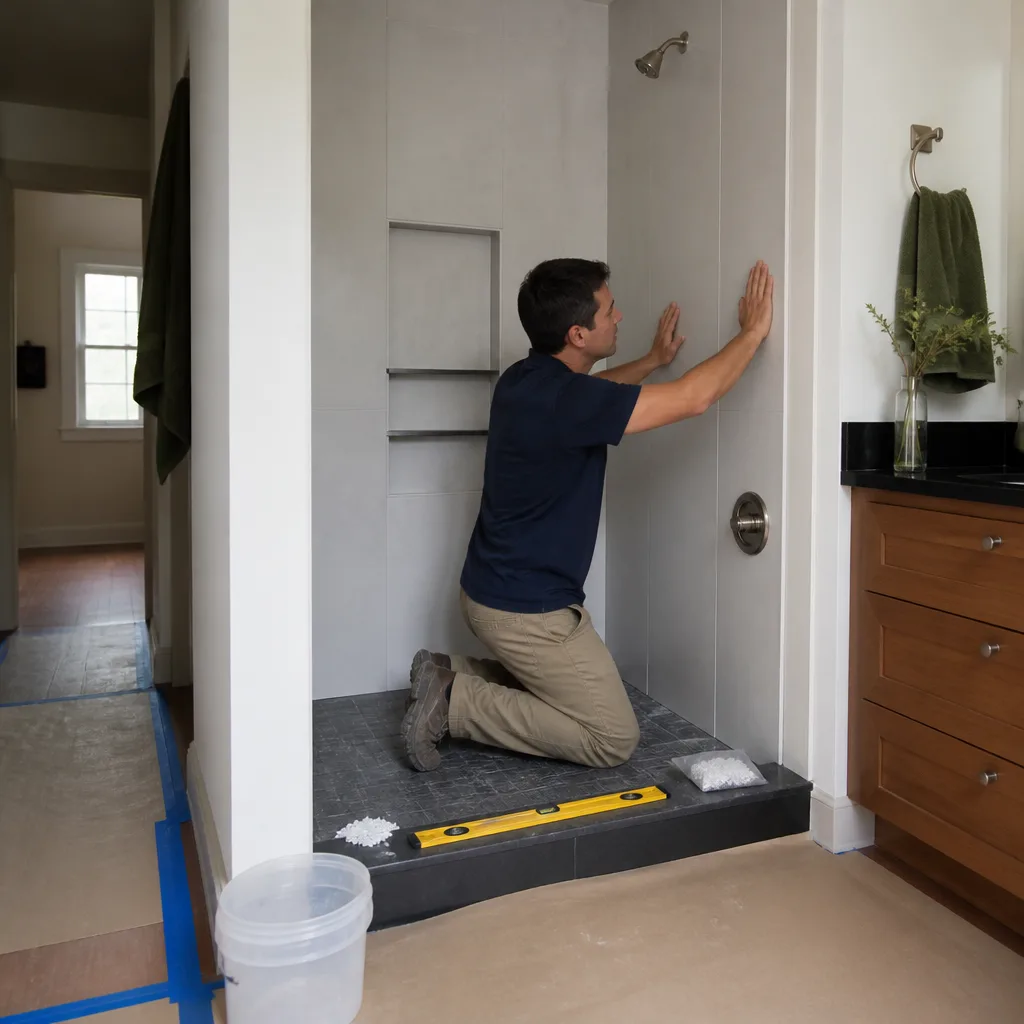
See the difference
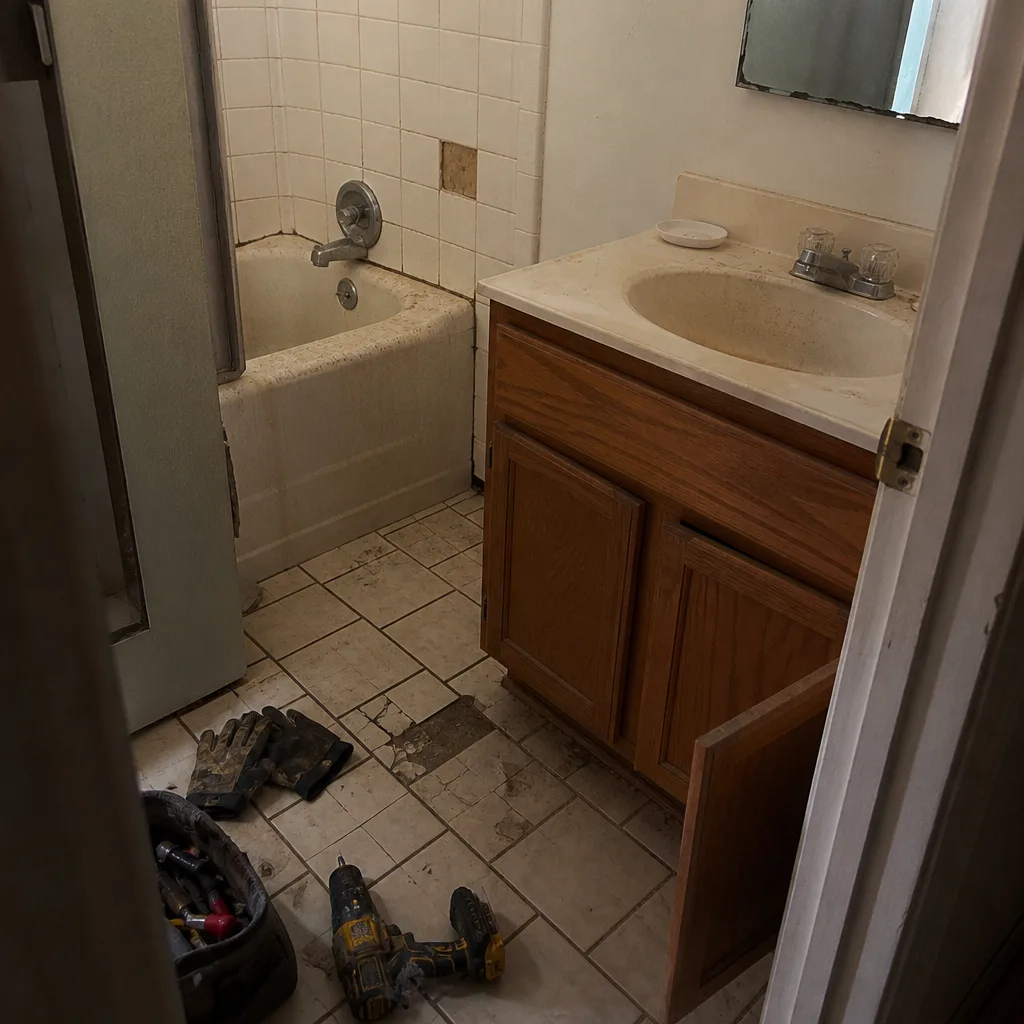 Before
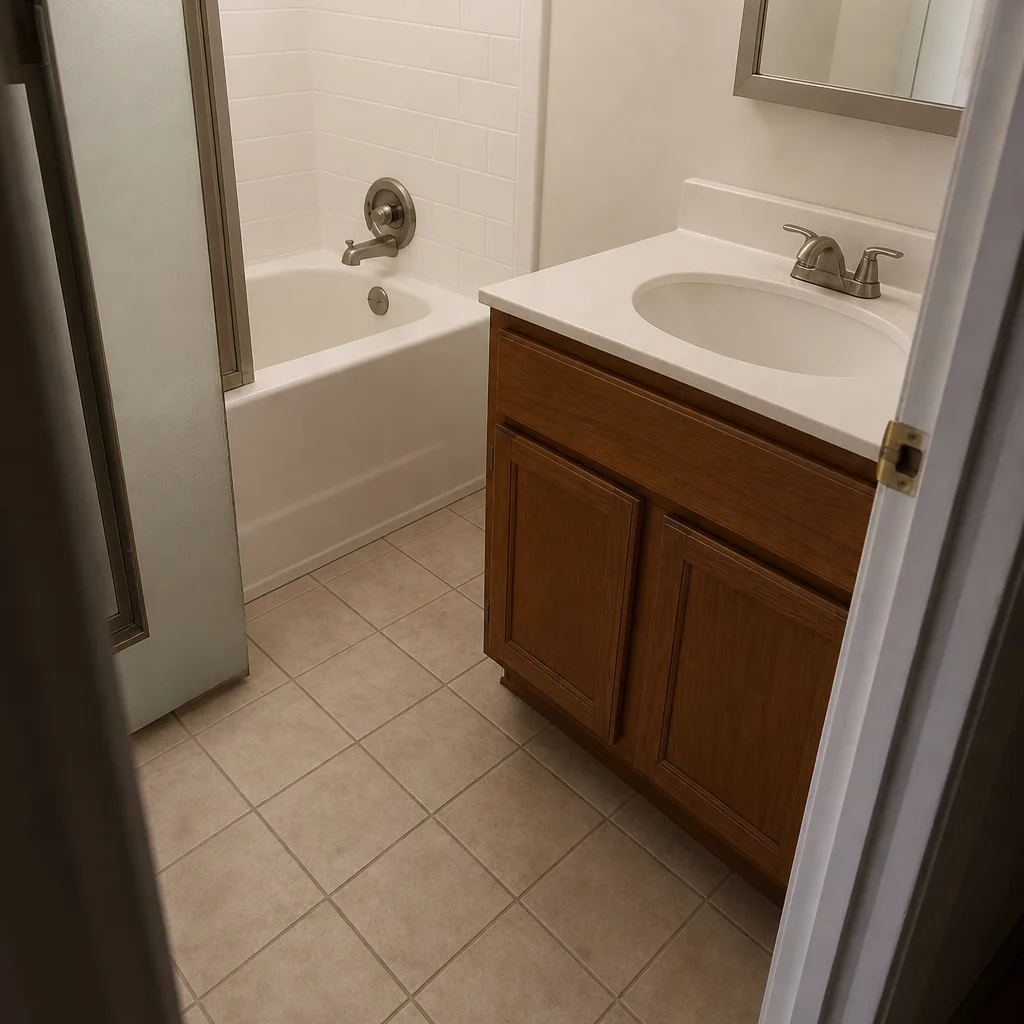 After
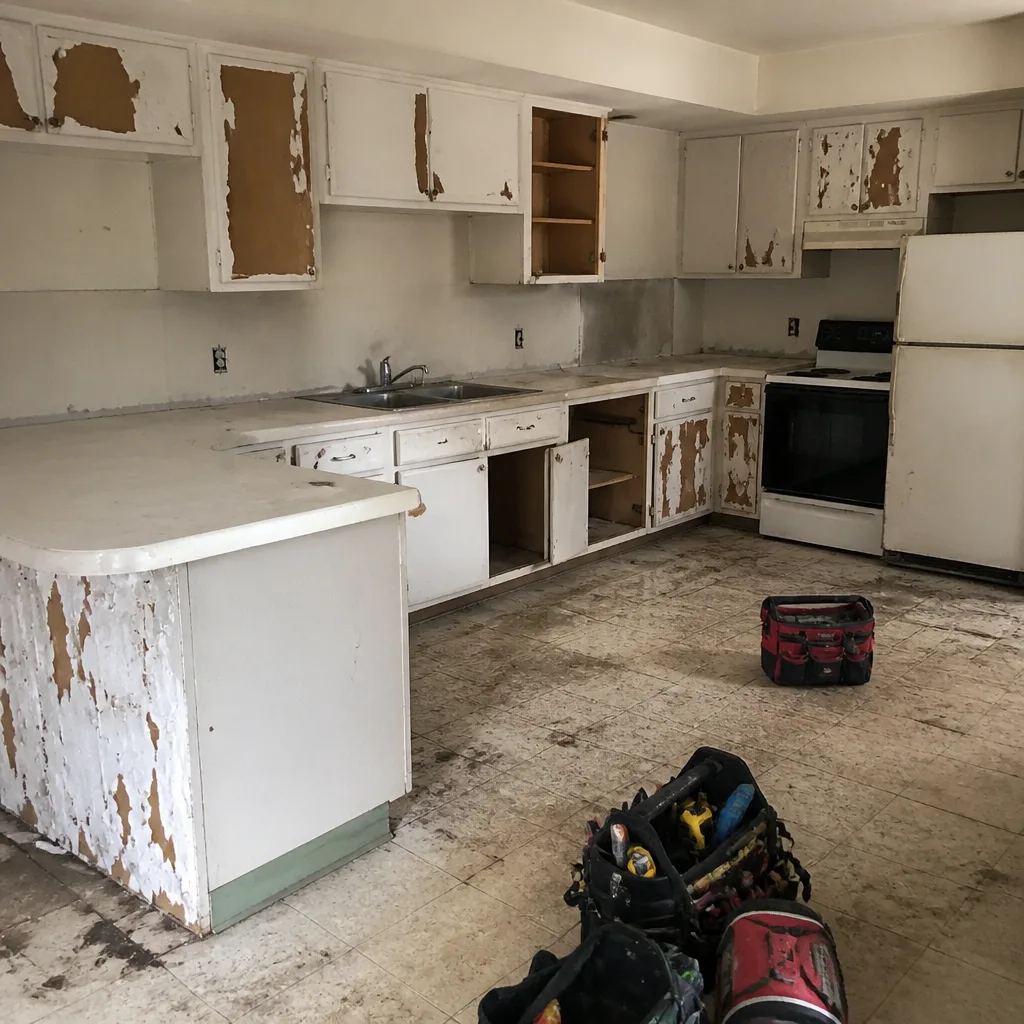 Before
 After
 Before
 After
When to Call a Professional
Some bathroom problems are worth a homeowner’s weekend. Others aren’t – because the failure you can see is a symptom of a failure you can’t. Call a professional if any of the following applies: water staining on the ceiling below the bathroom, a crack that’s growing across multiple tiles, a hollow sound when tapping tile, a drain that slowed after the remodel (not before), a tub surround where the silicone has failed twice in two years, condensation that persists more than an hour after a shower despite a running fan, or any cabinet door on a newly installed vanity that’s already out of square. These all point to substrate, membrane, rough-in, or ducting failures that require opening up a wall or floor to fix correctly. Bradford Remodeling Co Denton offers free estimates in Denton – call (844) 651-3175. Live person answers, day or night, and every estimate is a written line-item price before any work begins.
Frequently Asked Questions
Cosmetic tile repair in Denton typically runs $150 to $350 for a small re-tile and re-grout of a localized area. A structural repair that includes opening up the substrate, patching backer board, and re-establishing the waterproofing membrane usually lands between $450 and $1,200 depending on the size of the failed zone. Call (844) 651-3175 for a written estimate – it’s free, and the scope is spelled out line by line.
Tap the tile with a plastic screwdriver handle – a hollow sound means the thin-set has let go and the crack is structural. If the crack runs through multiple tiles in a straight or mirrored line, if adjacent grout is also failing, or if you can feel a height difference between tile edges, it’s structural. Cosmetic cracks are single hairline fractures that don’t grow. Call (844) 651-3175 for an assessment before spending money on a repair.
The cabinet box was either installed on an unlevel slab or anchored to a wall that isn’t plumb – common in older Denton homes and on Texas slab foundations. The doors aren’t the problem; the cabinet is twisted. The correction is to unanchor, re-shim, and re-anchor. Call (844) 651-3175 to schedule an estimate.
Hire a contractor if the grout has failed twice, or if any tile sounds hollow, or if you can see water staining inside the shower wall. A DIY re-grout addresses only the top layer. If the waterproofing membrane has failed underneath, the job will fail again – typically within 12 to 18 months. Call (844) 651-3175 for a diagnostic before you buy grout.
No. A drain that was working before the remodel and not working after is either debris in the trap, a capped vent, or a slope issue – all correctable. None of those fixes are budget-busters. Call (844) 651-3175 to schedule a diagnostic; it’s part of what a responsible remodeler should be handling.
Yes – every completed project carries the 365-Day Done Right Promise, a written full-year guarantee. If the work fails inside that window, we come back and correct it at no charge. The guarantee is signed and handed to you at close-out, along with the documented scope. Call (844) 651-3175 for a free estimate and to see what a written scope looks like.
The Bottom Line
Most bathroom remodel failures aren’t materials problems – they’re skipped steps in rough-in or waterproofing that show up later as cracks, slow drains, or doors that won’t stay square. The diagnostic rule is to work backward from the failure through the layers: substrate, membrane, rough-in. Fix the layer the failure started in, and the repair holds. Fix the surface, and it comes back. Document the problem before you call – photos, measurements, dates – so a contractor can scope without guessing. If the work in your Denton bathroom has already been done once and failed, ask the next contractor to put the repair scope in writing, line by line, before any tool comes out. That’s how you break the repeat-repair cycle, and that’s what Bradford Remodeling Co Denton does on every job.
Call (844) 651-3175 for a free estimate. You’ll get a live person, a written line-item price, and a full-year written guarantee on the work.
Written by the team at Bradford Remodeling Co Denton.